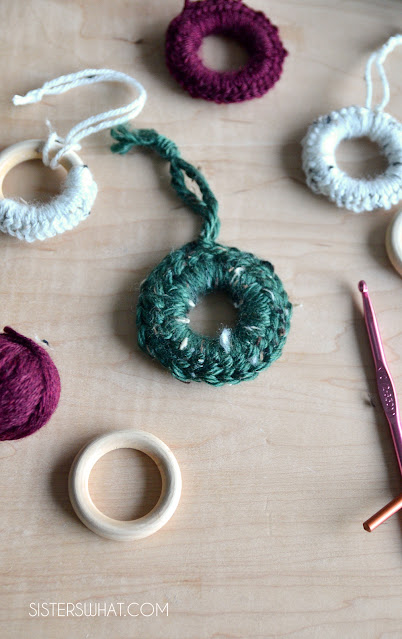
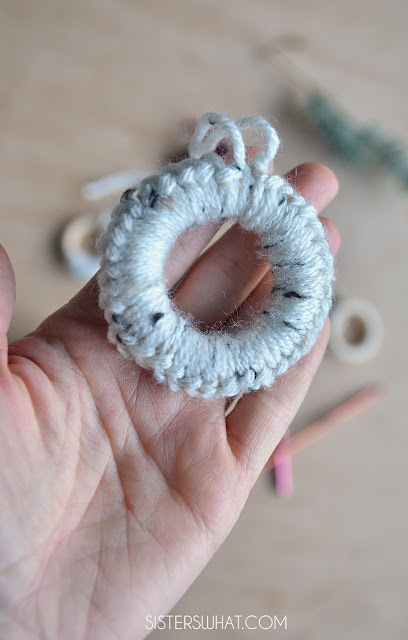
This easy crochet Christmas wreath is perfect for the beginner crocheter. It's a quick crochet project that would make a great Christmas ornament gift.
I don't crochet as much as I would like, but when winter rolls around, it's the perfect time to slow down and find the perfect crochet project. This easy crocheted Christmas Wreath ornament tutorial is easy to follow and the perfect beginner project.
I got these wood rings to make these crochet Christmas stockings but got more than I needed. So I thought, what can I make with these. I remembered Delia Creates made a christmas Wreaths and put that idea to work with these. And they're so easy to make.
My 8 daughter is becoming obsessed with crocheting and wants to learn to do everything! This was the perfect project for her. It's simple and a fast make. In fact, I will include it into my handicraft projects links because I think it's a great beginner crochet project for kids. Once they understand the basics of crochet, then this will be a great little starting project.
Crochet Resources for Beginner Crocheters
If you are new to crocheting and want to learn, I suggest Delia Creates blog. First of all, she was the reason I was inspired to make this crocheted ring from seeing her make this crocheted home wreath. Delia is one of my favorite people in person and online.
When My daughter was 7, she was begging me to teach her. But, instead of teaching her myself, I found this fantastic video of another 7 year old teaching crocheting. We love it and I recommend it.
+ Find a crocheting friend
If you need an in person teacher, I suggest asking around or making a friend. In person is such a great option and fun way to get to know people.
Ok now to the wreath:
Easy Crochet Christmas Wreath Ornament Tutorial
Supplies:
Thick Yarn (I used Wool Ease)
Watch the video below for a good visual:
Step 1:
Make a slip knot. Wrap your yarn under your wood ring. Pull the string up and through the loop of your slip knot and do slip stitch. A slip stitch goes straight through your loop. Now, your yarn is on the other side. You want to keep wrapping your yarn around and pulling through your loops, back and forth until you make it all the way around.
Step 2.
You can stop there and pull your yarn through and tie a knot. If you want to add more texture, we're going to continue on to a second row. We're going to do a technique called going into the back loop. Usually you go through the braids and go through 2 loops on a second row. But this time, you want to go through JUST the back loop. This will make it look really pretty like a braid. Do this until you make it back to the start.
This post may contain affiliate links. Thanks for supporting Sisters, What!


No comments
We LOVE hearing what you think. Thank you for your sweet comments!