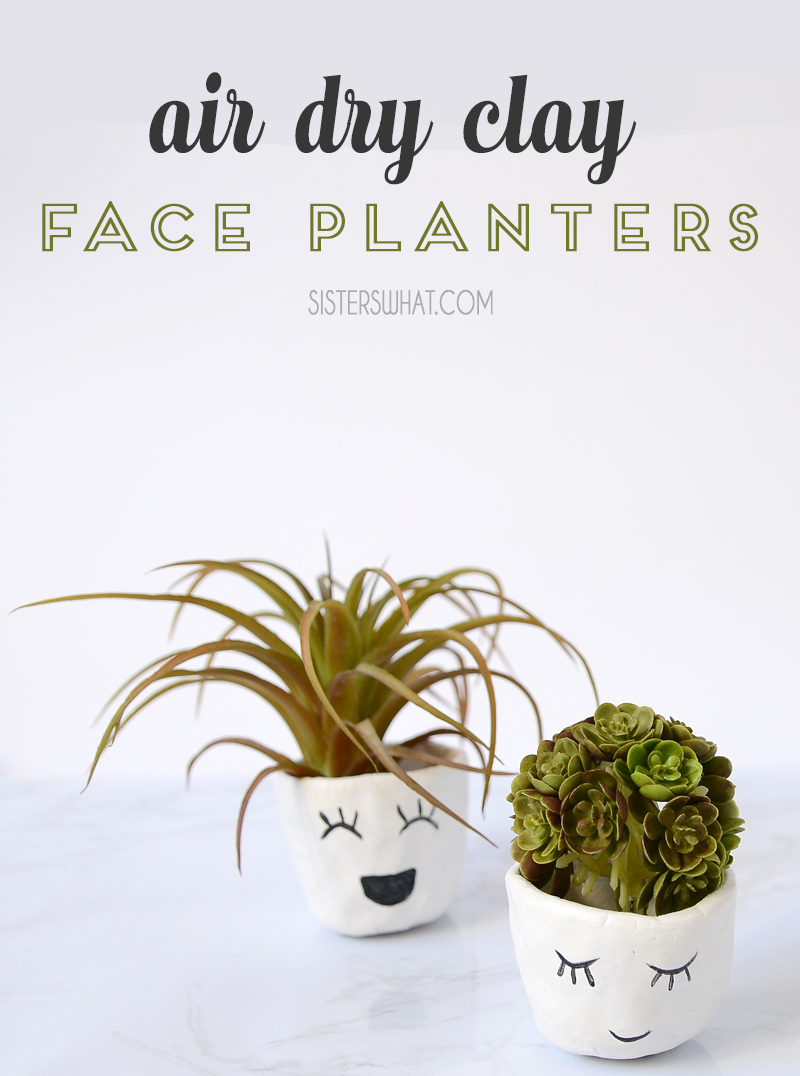
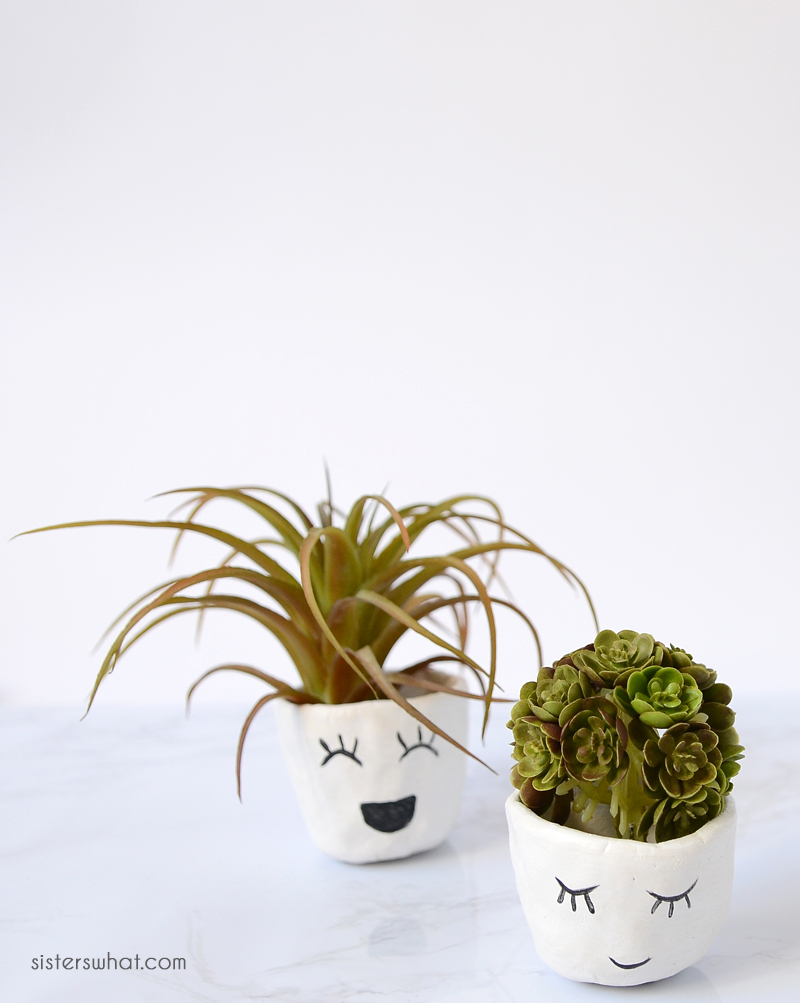
These air dry clay mini face planters are so fun and easy to make just using air dry clay and some paint or marker for the face. This is a fun clay activity to do with your kids.
Are you ready for spring? Me too, but meanwhile it's raining outside and not quite ready for all the planting I want to do. I just want to plant containers and containers and all available space with flowers to cover my backyard. But for the mean time, how about some inside planting. I made these planters with my kids a couple of years ago (I know, I'm just now getting around to sharing it) and they loved how cute and mini they were. It's a great beginner clay project for kids. They of course can make them how they want, but this was a great little starting before they went off on their own little creations. In fact, clay is a great handicraft to do with your kids, especially on rainy days. They love making things and air clay is a perfect craft medium for kids.
You May Also Enjoy These other Handicraft Posts to do with Kids:
Air dry clay is perfect for kids because it's a great price and easy to work with. It's a perfect way to get them started on working with clay.
DIY Air Dry Clay Mini Face Planters
Supplies:- Air Dry clay
- paint for faces
- fake succulents for inside. If you're going to use real succulents, you need to seal the clay.
Step 1: Make a ball
Grab a small chunk and roll into a ball. You want your ball to be about a size that can fit nicely inside your fist; just a bit smaller than a baseball.Step 2: Make a well
Once you have a nice tight ball, start pressing into the center with your finger. Gently start molding your little pot. This is where you just work the clay gently until you get a shape you like for a little pot. You can use water to smooth any problems or cracks in the clay. Smooth out the top and the sides until you are happy with how it looks.Step 3: Let dry 24-36 hours
Let dry. Once dry, feel free to paint white or leave as is the natural clay color.  Step 4: Paint faces.
If you want to add some faces, sketch out some simple designs you like or simple copy mine. Then paint those faces on it using a thin brush and black paint. Seal it with an acrylic sealant and you're done.
This post may contain affiliate links. Thanks for supporting Sisters, What!


No comments
We LOVE hearing what you think. Thank you for your sweet comments!