How to Cut Vinyl Stickers for Ceramic Containers - Sisters, What!

How to Cut Vinyl Stickers for Ceramic Containers

I'm super excited to be joining in a thrift store decor upcycle challenge this month! See below my fun ceramic container update and many other bloggers thrift store item!

how to cut stickers with cutting machine

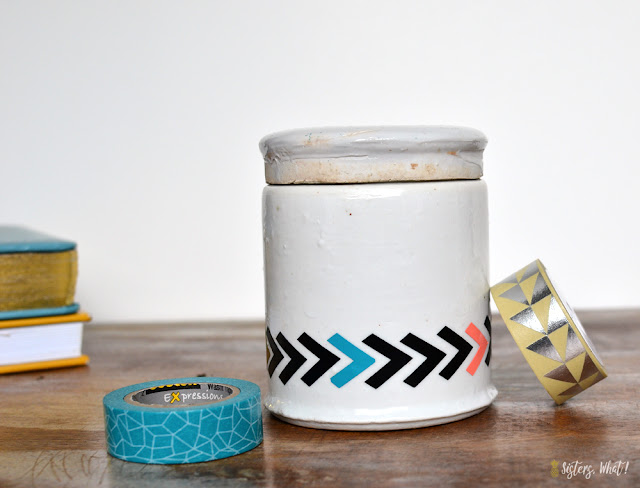
When I was searching for containers for my DIY Color Block Flower pots, I came across these ceramic containers for $0.50 each! I had no idea what I'd use them for, but they seemed really cool and I thought they would be easy to update. I decided that vinyl would be a perfect way to update them. Plus, if I ever get tired of them, I can easily take the vinyl off.
They have now become the home for my little clothes pins, paper clips and washi tape. 
cut vinyl sticker with cutting machine
diy modern stickers with cutting machine
how to cut vinyl stickers cricut

How to cut Vinyl Stickers for decoration


Supplies:

Ceramic Container

Step 1

pick out your desired shapes and create a pattern in Silhouette studio (or Cricut program if that's what you use). I simply just used plus signs, hearts and chevrons. Arrange your pattern. If using multiple colors, highlight them in your program. When you're ready to cut, select advanced and then select just one color at a time to cut. 
 I  cut black first, and then when I went to cut the color, I then rearranged the colors pieces so as to save vinyl and use scrap vinyl that I had.  Once it's cut, add on the transfer tape. 
diy cut modern design with cutting machine

Step 2

 place vinyl onto your container. Then add other colorful shapes into empty spots. 
how to add vinyl stickers to ceramic
upcycled ceramics with vinyl stickers
 And your done!! 


No comments

We LOVE hearing what you think. Thank you for your sweet comments!